
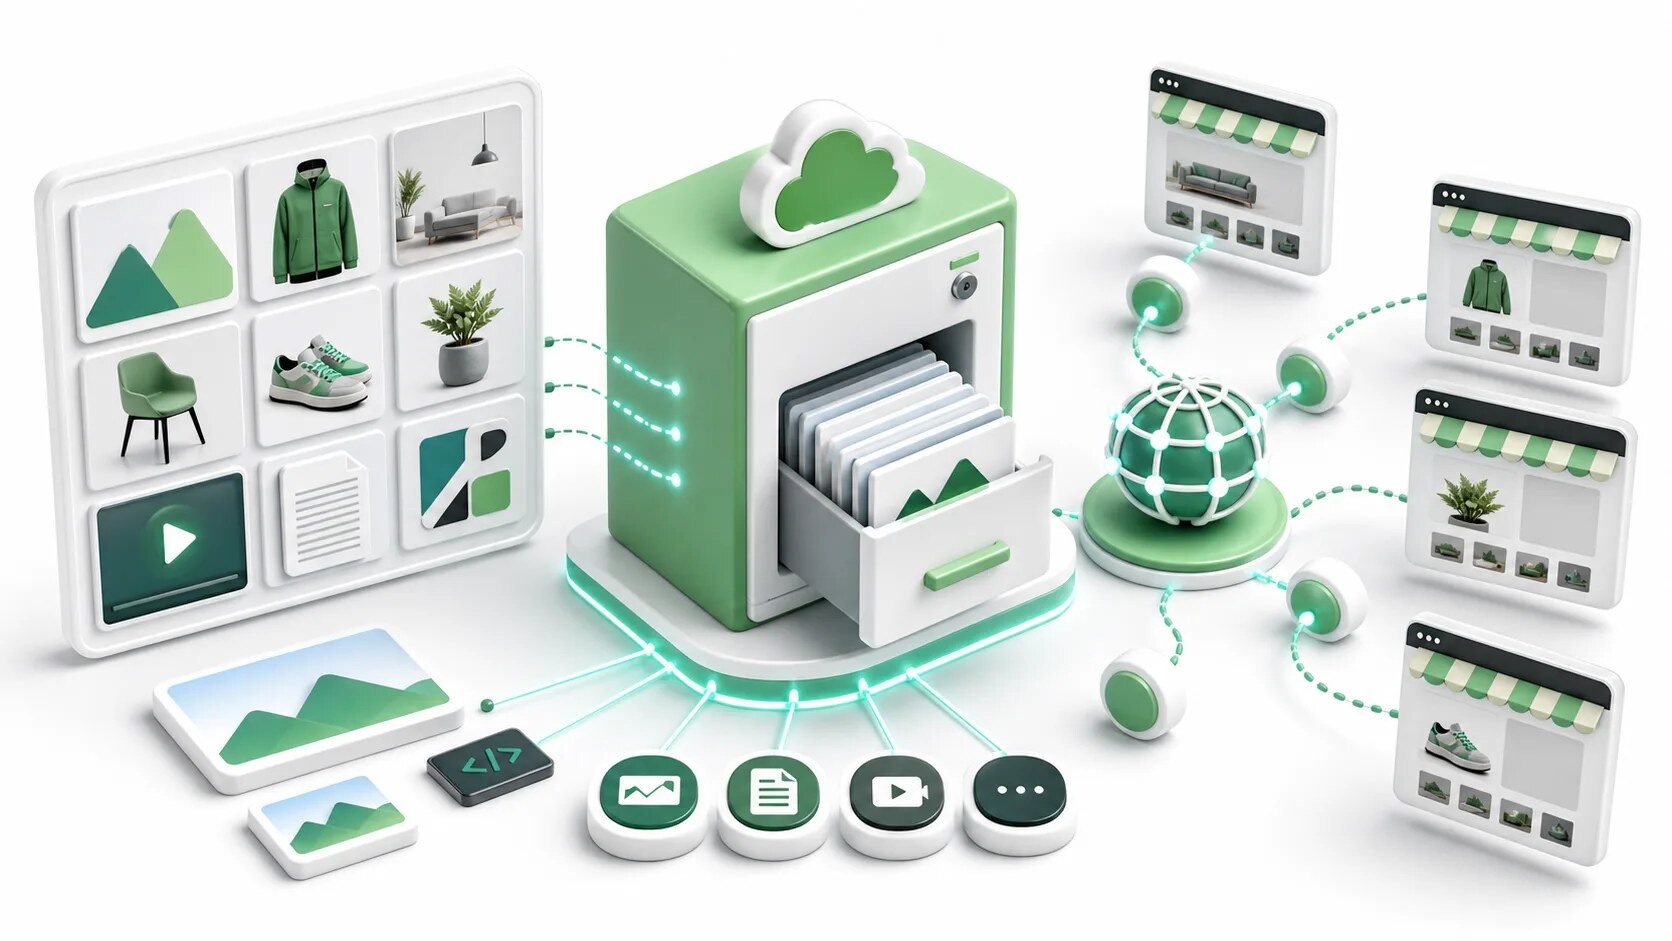
Most Shopify merchants have never heard of Shopify Files, even though they’ve used it dozens of times without knowing. It’s the unmarked storage system that holds every image, video, document, and asset on your Shopify store — and understanding it changes how you think about every app you install that touches images.
This guide explains what Shopify Files is, what you can do with it, and why the answer to “where do my images actually live” matters more than most merchants realise.
What Shopify Files actually is
Shopify Files is a storage service built into every Shopify store. When you upload an image to a product, write a blog post with an embedded photo, attach a PDF to a customer email, or drop a logo into your theme, the file goes into Shopify Files.
You can think of it as a Dropbox folder that’s automatically connected to your store, served from Shopify’s global content delivery network (CDN), and accessible from anywhere your store needs it.
You can see it directly:
- Log into your Shopify admin
- Go to Settings → Files
You’ll see a list of every file you’ve ever uploaded to your store — product images, theme images, attachments, everything. They’re organized by upload date by default, and you can search by filename.
Why most merchants don’t know about it
Shopify Files is invisible most of the time because you don’t interact with it directly. When you upload a product image, you’re using the product editor. When you add a banner to your theme, you’re using the theme editor. The file ends up in Shopify Files, but the interface you used to upload it didn’t mention Files at all.
You only need to know about Files directly when you want to:
- Upload an image that isn’t tied to a specific product or page
- Find a file you uploaded previously and reuse it
- Delete old files to clean up storage
- Get a permanent URL for a file (to use in an email, for example)
That last one is the most common reason merchants discover Files. They want to put an image in a marketing email or a customer notification, and they need a stable URL for it. Files is where that URL comes from.
How to upload files directly
You can upload any file directly to Shopify Files without going through a product or theme:
- Go to Settings → Files
- Click Upload files
- Select one or more files from your computer
- Wait for upload to complete
Once uploaded, click any file to see:
- A permanent URL — copy this and use it anywhere
- The file size, dimensions (for images), and upload date
- A delete button if you want to remove it
You can also drag and drop files directly onto the page rather than using the upload button.
What types of files can you store?
Shopify Files supports most common file types:
Images: JPG, PNG, GIF, WebP, AVIF, SVG, HEIC
Videos: MP4, MOV (with size limits on Basic plans)
Documents: PDF
Other: Various, depending on context — fonts, CSS, JS for theme use
Some file types have specific size limits depending on your Shopify plan. As of 2026, a Basic plan allows files up to 20MB; higher plans allow larger uploads.
For most use cases, the limits don’t come up. The exceptions are:
- Very large product photography (raw camera files)
- Video content (especially uncompressed video)
- Long-form PDFs with embedded high-resolution images
If you hit a size limit, compress or resize the file before re-uploading.
How Shopify Files serves your content
When a customer visits your store and loads an image, the image is served from Shopify’s CDN — a network of servers around the world that caches your content geographically close to your customers.
This matters because:
- Speed: A customer in London loads images from a London server, not from a server in North America. Pages feel faster.
- Reliability: Shopify’s CDN has redundancy. If one server has problems, others take over. Your images don’t go down.
- Scale: A traffic spike doesn’t crash your image hosting. The CDN handles arbitrary load.
The CDN URL for a file looks like:
https://cdn.shopify.com/s/files/1/[shop_id]/[various_path]/filename.jpgThis URL is permanent for the lifetime of the file. You can use it in any external context — emails, social media, marketing automation, third-party apps — and it will continue to work.
On-the-fly image transformations
Here’s the feature that even experienced Shopify developers underuse: Shopify’s CDN can resize, crop, and reformat images automatically via URL parameters.
If your file URL is:
https://cdn.shopify.com/.../product-image.jpgYou can request a smaller version by adding parameters:
https://cdn.shopify.com/.../product-image.jpg?width=400The CDN returns a 400-pixel-wide version of the same image, generated on-the-fly and cached for future requests.
Available parameters include:
width=N— resize to N pixels wide, preserving aspect ratioheight=N— resize to N pixels tallcrop=center(ortop,bottom,left,right) — crop instead of resize when dimensions are constrainedformat=webp— convert to WebP (the CDN does this automatically for browsers that support it, so you usually don’t need to specify)
Practical example: instead of uploading the same image at five different sizes for different parts of your site, upload it once at high resolution and use URL parameters to serve appropriate sizes:
- Thumbnail:
?width=200 - Mobile product:
?width=600 - Desktop product:
?width=1200 - Zoom view:
?width=2400
This is exactly what well-built Shopify themes do automatically when you use the proper Liquid image tags. It’s also how gallery apps should be serving images. If a gallery app you’re using ignores Shopify’s CDN transformations and serves everything at full size, that’s an optimization problem worth flagging.
Storage limits and pricing
As of 2026, Shopify storage is effectively unlimited for files associated with your store. There’s no hard cap on total Files storage on any paid Shopify plan.
This is meaningfully different from how things were a few years ago, when Shopify had explicit storage caps. The current “unlimited” stance reflects Shopify’s bet that storage costs aren’t the right friction point for merchants.
In practical terms: don’t worry about how many images you upload. Worry about image performance (file sizes, dimensions, compression) instead. Uploading more 100KB images is fine. Uploading fewer 10MB images is what hurts your store.
File organization (or lack thereof)
A genuine limitation of Shopify Files: it has no folder structure. Every file you’ve ever uploaded lives in a single flat list, sorted by upload date or filename.
This works fine for small stores. For larger stores with thousands of files, it becomes a pain — finding a specific image among 2,000 entries is tedious.
Workarounds:
Descriptive filenames. Before uploading, name files something searchable: product-hero-blue-shirt-2026.jpg is easier to find than IMG_4892.jpg. This is also good for image SEO (see our Image SEO for Shopify guide for details).
Naming conventions. Some merchants prefix file names by category: prod-, blog-, email-. Searching for prod- then shows only product images.
Use the search box. Files supports search by filename. With good naming, you can find what you need in seconds.
External management. Some teams keep a separate spreadsheet or asset management system that tracks which Shopify Files URL corresponds to which usage. Overkill for most stores; valuable for marketing teams managing many campaigns.
What Files is not
Shopify Files is storage. It’s not:
- A media management system with tagging, versioning, or workflow
- A digital asset management (DAM) platform like Bynder or Cloudinary
- A backup service — files in Shopify Files are not separately backed up; if you delete them, they’re gone
- A long-term archive for files you don’t currently use in your store
For sophisticated media workflows, businesses often use a separate DAM and only push the production-ready versions to Shopify Files. For most stores, Shopify Files is enough.
Why this matters for app choices
The reason we wrote this article on a gallery app’s blog: most merchants don’t realise that the question “where does this app store my images?” is one of the most important questions to ask before installing.
Apps that store images on the developer’s own servers create a dependency. If the developer has problems, your images become unavailable. We’ve seen this pattern repeatedly with abandoned Shopify apps, most recently with Cozy Image Gallery in late 2025.
Apps such as A1 Image Gallery that store images in your Shopify Files don’t create that dependency. Your images live in your account, served from Shopify’s CDN, and they continue to work regardless of what happens to the app.
This is true for any app that handles images:
- Photo galleries
- Lookbook builders
- Product image enhancers
- Background removers
- Image optimizers (the ones that re-upload “optimized” versions)
- Bulk image editors
Before installing any image-touching app, find out where the images actually end up. The answer is usually:
- “On our CDN” — creates a dependency
- “In your Shopify Files” — doesn’t create a dependency
- “Both” — depends on which one your customers actually see at render time
Ask the developer directly if it’s not clear from the documentation.
Practical things you can do with Files right now
Some specific use cases worth knowing about:
Add a downloadable PDF to your store
- Upload the PDF to Files
- Copy the file URL
- Create or edit a page or product where you want the PDF
- Add a link with the URL as the destination
Customers can now download the PDF. Common uses: product manuals, size guides, return forms, lookbooks.
Use an image in a marketing email
Marketing emails sent through Shopify Email or external platforms (Klaviyo, Mailchimp) need image URLs that are stable and publicly accessible. Files provides exactly that.
- Upload the image
- Copy the URL
- Use it in your email composer
Importantly: don’t link to images stored on your computer or in private storage. Email clients won’t be able to load them.
Embed an image in a blog post
Shopify’s blog editor supports image upload, which goes to Files automatically. But if you want to reuse an image you’ve already uploaded:
- In the blog editor, click the image insert icon
- Choose “Use existing image” or paste the file’s URL
- The image embeds without re-uploading
Add a custom favicon or logo
For elements that the theme editor doesn’t expose directly:
- Upload the image to Files
- Get the URL
- Edit theme code to reference the URL where needed
This is mostly for non-developers who want a specific image somewhere their theme doesn’t support natively.
Build a press/media kit
Upload high-resolution versions of your logos, hero images, and product photography to Files. Create a public page on your store that links to all of them. Now you have a press kit any journalist or partner can use.
Files API for developers and apps
Developers and apps can interact with Files through the Shopify Admin API. The main operations:
fileCreate— upload a new filefileUpdate— update file metadatafileDelete— delete a filefilesquery — list files matching specific criteria
Apps that store images in your Shopify Files (rather than on their own servers) use these endpoints. The flow is typically:
- App uploads image via the Files API
- Image now lives in the merchant’s Files (visible to the merchant)
- App stores a reference (the file’s GID) but not the image itself
- When rendering, the storefront fetches the image directly from Shopify’s CDN
If you’re a developer evaluating apps, looking at whether they use fileCreate (writes to merchant Files) versus their own image hosting is the technical version of the architectural question we keep coming back to.
Deleting and cleaning up files
If you’ve been running your store for years, you probably have files in Shopify Files that you no longer use. Deleting them is fine but be careful:
Before deleting any file:
- Search for the filename across your theme, product descriptions, blog posts, and pages
- Make sure the file isn’t referenced anywhere
- Delete with confidence
Files that are still referenced will simply break wherever they’re used. Shopify won’t warn you about this, so the careful pre-check is your responsibility.
For most stores, the cleanup payoff is small (you’re not running out of storage), but it can be useful for:
- Removing old product photos for discontinued products
- Cleaning up duplicate uploads
- Removing test images from theme experimentation
We’d suggest doing a Files cleanup maybe once a year. More often than that is rarely worth the time.
The summary
Shopify Files is the storage backbone you already have access to and probably under-use. Knowing it exists:
- Makes you a better judge of which apps to install (the ones that use Files vs the ones that don’t)
- Lets you serve images more efficiently via URL parameters
- Gives you a stable way to use images in external contexts (emails, marketing, social)
- Helps you understand what’s actually happening when you install image-related apps
For day-to-day store operation, you mostly don’t need to think about Files. For app evaluation and image strategy, knowing how it works changes how you make decisions.
Questions about Shopify Files or how to use it with image-related apps? Email [email protected].
A1 Image Gallery is built by A1 Local, an independent Shopify development studio based in Perth, Australia. We built A1 specifically to use Shopify Files as the canonical image storage — every image you upload via A1 goes into your Files, served from Shopify’s CDN, and stays there even if you uninstall A1.