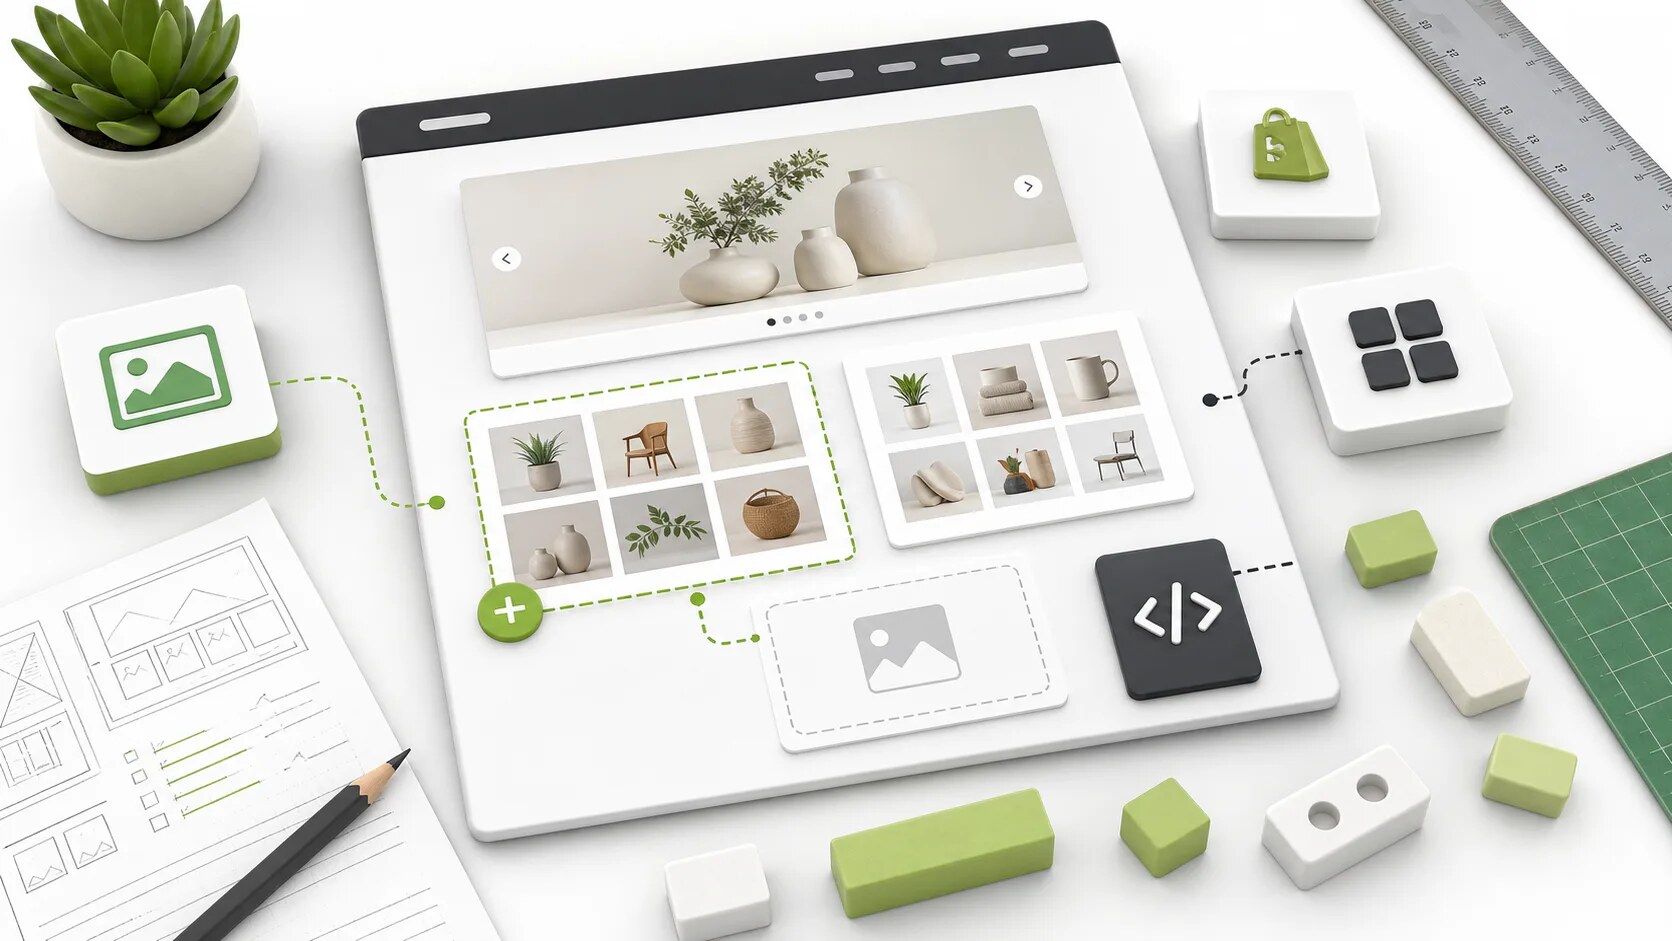
If you want to add a photo gallery to your Shopify store, you have three real options, and the right one depends on what you’re trying to achieve. This guide walks through all three honestly, with specific recommendations for which one suits which kind of store.
We’ll cover:
- The native theme gallery sections built into Shopify (free, simple, often underrated)
- App-based galleries (more features, ongoing dependencies)
- Direct theme code (advanced, ultimate control)
And we’ll show you how to pick between them in five minutes by answering three questions about your store.
Three questions to decide
Before any tutorial, answer these honestly:
1. How many galleries do you need across your store?
If the answer is “one or two,” you almost certainly don’t need an app. If the answer is “several, on different pages, with different layouts,” an app starts to make sense. If the answer is “dozens, with rich customisation per gallery,” an app is the right answer.
2. How important is mobile experience?
If your customers mostly browse on mobile (which is most stores in 2026), and the gallery is a real part of the shopping experience, the difference between native theme sections and a good gallery app is significant. Native sections often handle mobile gestures poorly. If mobile gallery interaction is just “see a few images on the page,” native is fine.
3. How comfortable are you with risk of breakage?
Native theme sections can’t break — they’re part of your theme. Apps can have outages, get abandoned, or be acquired. Direct theme code requires you to maintain it forever. Each option has a different kind of fragility.
The combination of these three answers points you to the right approach.
Approach 1: Native Shopify theme gallery sections
Best for: Simple use cases, merchants who want zero ongoing dependencies, stores that prioritise page speed.
Every modern Shopify theme — Dawn, Sense, Refresh, Studio, Crave, Pinnacle, and most paid themes — includes at least one built-in image gallery section. These are free, fast, and won’t break.
How to add a native gallery section
The process is the same across all modern Shopify themes. We’ll use Dawn as the example since it’s the most common.
- From your Shopify admin, go to Online Store → Themes
- Click Customize on your published theme
- From the theme editor, choose the page where you want the gallery
- Click Add section in the sidebar
- Look for a section called Image gallery, Collage, Multimedia, or Image with text
Different themes call these sections different names. The most common variants:
- Image gallery: Multiple images in a grid, usually with a heading
- Collage: Mixed media (images, video, product cards) in a designed layout
- Multimedia: Single feature image or video, often full-width
- Slideshow: Carousel of full-width hero images
For most “show several photos in a grid” use cases, Image gallery or Collage is what you want.
Configuring a native gallery section
Once you’ve added the section, you can typically:
- Click each image placeholder to upload an image from your Shopify Files
- Add captions or alt text
- Choose between 2, 3, 4, or 5 columns
- Set image aspect ratios
- Add a heading and subheading
That’s roughly the limit of customisation for most native sections. You won’t get masonry layouts, lightboxes, mobile swipe gestures, or product linking from images in most themes.
When native sections aren’t enough
Native sections fall short when you need:
- Lightbox — clicking an image opens it in a fullscreen modal
- Masonry layout — images of different heights packed together without gaps
- Mobile swipe gestures — swipe between images in lightbox view
- Product linking — clicking a gallery image goes to a product page
- Multiple galleries on the same page with different layouts
- Bulk image upload — adding 20+ images one at a time is painful
If any of these matter to you, an app is the better path.
Native section tip: it’s still your best bet for hero/banner imagery
Even if you use a gallery app elsewhere, native sections are usually the right choice for hero images, banner images, and “image with text” feature placements. Apps add value when you have many images in a gallery format; for single hero images, native is simpler and faster.
Approach 2: A gallery app
Best for: Stores with multiple galleries, rich layout needs, mobile-critical interaction, or anyone who wants masonry/lightbox out of the box.
The Shopify App Store has dozens of gallery apps ranging from free with branding to premium subscriptions. The differences between them matter, and we covered the comparison in detail in Cozy Image Gallery vs Robin PRO vs A1 Image Gallery — that’s the article to read if you’re choosing a specific app.
For this article, we’ll focus on how gallery apps work and what to know before installing one.
How gallery apps integrate with your store
When you install a gallery app, three things happen:
- The app gets read and write access to your Shopify Files, themes, and (often) products
- The app installs a section or block in your theme editor
- The app’s admin interface appears under Apps in your Shopify admin
To use the app, you:
- Create a gallery in the app’s admin (give it a name, upload images, configure layout)
- Add the gallery to a page via the theme editor (drag the app’s section into the page)
- Save the page — visitors now see the gallery
Most apps use Shopify’s “App Block” or “Theme App Extension” system, which means you add galleries through the standard theme editor interface, not by editing code.
Adding a gallery via theme editor (typical flow)
The exact steps vary by app, but the typical flow:
- Install the gallery app from the Shopify App Store
- Go to the app’s admin to create your gallery (name it, upload images, set layout)
- Go to Online Store → Themes → Customize
- Navigate to the page where you want the gallery
- Click Add section and look for the app’s block (usually named like “[App name] Gallery” or similar)
- Add it, then configure which gallery to show via the section’s settings panel
- Save
A well-designed gallery app makes this feel native — the section behaves like any other Shopify section in the theme editor.
Questions to ask before installing any gallery app
This list will save you significant pain later. Before installing, check:
Where does the app store your images? Apps that store images on their own servers (most do) introduce a dependency on that company’s continued operation. Apps that store images in your Shopify Files don’t. There’s no right answer here, but you should know the answer before installing.
Where does the gallery code run? Apps that load JavaScript from their own servers on every page view introduce a runtime dependency. Apps that ship their code as Theme App Extension blocks don’t. Again, no universal right answer, but worth knowing.
What happens if you uninstall the app? Some apps leave broken sections in your theme. Others clean up properly. Some leave your images stranded; others let you export them. Test this on a duplicate theme before going live with any new app.
What’s the recent review pattern? A 5-star average rating with 200 reviews all from 2020 is a worse signal than a 4.6-star average with 30 reviews from the last six months. Look at recent reviews, not aggregate.
Is the developer responsive? Email their support address before installing and see how long they take to reply. If they don’t reply at all, that’s data.
Common gallery app features to look for
For most ecommerce gallery use cases, the features that actually matter:
- Grid and masonry layouts
- Lightbox with mobile gestures (swipe, pinch to zoom, swipe down to close)
- Lazy loading (images load as the visitor scrolls, not all at once)
- Responsive image variants (different sizes served to different screens)
- Per-image alt text (for SEO)
- Product linking (clicking an image goes to a product)
- Bulk image upload
- Drag-and-drop reordering
What you usually don’t need despite apps advertising them:
- AI-generated alt text (often inaccurate; write your own)
- Right-click protection (sophisticated users bypass it instantly)
- Visit counters on galleries (vanity metric)
- “Real-time stock updates” attached to gallery images (Shopify’s own product blocks do this better)
A note on free gallery apps
Several apps on the App Store offer free tiers. These typically work in one of three ways:
Free with branding. Your gallery shows the app’s logo or branding. Fine for testing, looks unprofessional on a real store. Usually $7-15/month to remove branding.
Free with image limit. Up to N images (often 10-15) are free, beyond that you pay. This is the model A1 Image Gallery uses ($0 free for 12 images, $4/month for unlimited).
Free but the developer monetises elsewhere. Some “free” apps are loss-leaders for other paid products from the same developer, or they sell data, or they’re maintained as portfolio pieces. Worth understanding the business model — companies that lose money on you long-term don’t tend to last.
Approach 3: Direct theme code
Best for: Developers and agencies who want absolute control, custom designs that no app supports, or merchants whose galleries are deeply integrated with custom theme logic.
If you’re comfortable writing Liquid, JavaScript, and CSS, you can build any gallery you want directly in your theme code. This gives you maximum control and zero ongoing dependencies, but requires real development skill and ongoing maintenance.
Basic structure of a custom theme gallery
A theme-coded gallery typically consists of:
- A section file (
sections/image-gallery.liquid) that defines the schema (what settings appear in the theme editor) and the HTML structure - A schema block that lets merchants add images and configure layout
- JavaScript for lightbox behaviour, lazy loading, and mobile gestures
- CSS for grid/masonry layout and responsive styling
A skeleton section file might look like:
{% schema %}
{
  "name": "Custom Gallery",
  "max_blocks": 50,
  "blocks": [
    {
      "type": "image",
      "name": "Gallery Image",
      "settings": [
        {
          "type": "image_picker",
          "id": "image",
          "label": "Image"
        },
        {
          "type": "text",
          "id": "alt",
          "label": "Alt text"
        }
      ]
    }
  ],
  "presets": [
    {
      "name": "Custom Gallery"
    }
  ]
}
{% endschema %}

<div class="custom-gallery">
  {% for block in section.blocks %}
    <div class="gallery-item">
      <img
        src="{{ block.settings.image | image_url: width: 800 }}"
        alt="{{ block.settings.alt }}"
        loading="lazy"
        width="{{ block.settings.image.width }}"
        height="{{ block.settings.image.height }}"
      >
    </div>
  {% endfor %}
</div>
That’s a minimal grid. To add lightbox, masonry, gestures, and so on, you’re writing real JavaScript.
The trade-off
Direct theme code gives you full control and zero external dependencies. Your gallery is part of your theme — it can’t break, can’t be deprecated, can’t change pricing on you.
In exchange:
- You’re responsible for maintenance forever
- Mobile gesture handling is genuinely hard to get right
- Image optimisation (responsive variants, lazy loading, focal-point cropping) requires real work
- If you switch themes, you migrate the gallery code yourself
For most stores, this isn’t worth the effort. For agencies building custom themes for clients, or large brands with bespoke design needs, it can be the right call.
A middle ground
You can also combine approaches: use a gallery app for most galleries, but write custom theme code for the one or two highly-designed feature placements that need specific behaviour. This is common on premium brands’ stores.
Performance: what to actually care about
Whichever approach you choose, three performance considerations matter more than most merchants realise.
1. Image weight
The single biggest performance issue with photo galleries is the total weight of images on the page. A gallery of 20 photos at 2MB each is 40MB of images — your page won’t load.
What to do:
- Use Shopify’s CDN URL parameters. Shopify’s CDN serves resized images automatically. A URL like
cdn.shopify.com/your-image.jpg?width=800returns an 800px-wide version. Use this rather than serving the original. - Serve responsive variants. A mobile visitor doesn’t need a 2000px image; a desktop visitor might. Use
srcsetto let browsers choose. - Use WebP or AVIF format. Shopify automatically serves WebP to supported browsers; if you’re hosting images elsewhere, do the same.
- Compress originals before upload. Shopify will resize but doesn’t re-compress aggressively. Run originals through TinyPNG or Squoosh before uploading.
2. Lazy loading
Images below the fold (not visible when the page first loads) should load only when the visitor scrolls toward them. This dramatically improves perceived page speed.
The simplest way:
<img src="..." loading="lazy" alt="...">The loading="lazy" attribute is supported in all modern browsers and tells the browser to defer loading until the image is about to enter the viewport. Most modern themes and gallery apps do this automatically.
3. Layout stability (CLS)
When images load, they push other content around if their dimensions aren’t reserved in advance. This is bad for both user experience and Google’s Core Web Vitals.
Always specify width and height attributes on your <img> tags, even if you’re styling them with CSS. This tells the browser how much space to reserve.
<img src="..." width="800" height="600" alt="...">The browser uses the ratio to calculate the right amount of space, then scales the image to fit the actual rendered size.
SEO: what gallery choices affect search rankings
Photo galleries affect SEO in three ways.
Image alt text. Every gallery image should have descriptive alt text. Google uses this to understand image content. It also helps screen-reader users. Native sections often skip alt text by default — set it explicitly. We covered this in detail in Image SEO for Shopify.
Page speed. Slow pages rank worse. Gallery apps that ship large amounts of JavaScript, load images poorly, or block rendering hurt your rankings. Test your pages with Google’s PageSpeed Insights after adding any gallery.
Layout shift (CLS). Galleries that cause content to jump around as they load harm Core Web Vitals scores, which affect rankings. The width/height attribute trick above prevents this.
A specific recommendation for the most common case
If you’re a typical Shopify merchant (small to mid-sized store, mixed product types, want a gallery on a few key pages), here’s the decision tree we’d suggest:
You need a gallery on 1-3 pages, mostly product images: Start with your theme’s native Image Gallery or Collage section. Don’t pay for an app you don’t need.
You need galleries on many pages, or your product line is photography-heavy: Use a gallery app. We’d suggest comparing 2-3 from the App Store before committing. Our app, A1 Image Gallery, is one option; Robin PRO is another good choice. Both are well-reviewed and reasonably priced.
You have a custom theme with bespoke design requirements, or you’re an agency building for clients: Write theme code directly. The control and zero-dependency benefits outweigh the maintenance cost for serious design work.
You’re switching from an app that’s giving you problems: This is its own scenario. We’ve written specifically about migrating from Cozy Image Gallery if that’s your situation.
A note on Online Store 2.0 themes
If your theme is “Online Store 2.0” (most themes since 2021 are), you have more flexibility than older themes. OS 2.0 themes support App Blocks, which means apps can add gallery sections that work like native theme sections — no manual code editing required.
If you’re on an older “Vintage” theme, your options are more limited. Gallery apps may require manual code installation. Consider upgrading to an OS 2.0 theme if you can — Shopify offers free options (Dawn, Sense, Refresh) and most paid theme developers have OS 2.0 versions.
To check which version you’re on, go to Online Store → Themes and look for a “2.0” badge next to your theme name.
Final thoughts
The temptation with “how to add a photo gallery to Shopify” is to immediately reach for an app. For many stores, that’s the right move. For many others, the native theme sections are perfectly adequate and avoid the ongoing dependency risk.
The most useful thing you can do before adding a gallery is decide what kind of gallery you actually need, based on your store’s specific situation. The three-question test at the top of this article is genuinely worth thinking through. The right answer might be “free native section,” and that’s a good outcome.
If you have specific questions about gallery setup that this article didn’t address, email us at [email protected]. We’re happy to help even if you’re not using our app.
A1 Image Gallery is built by A1 Local, an independent Shopify development studio based in Perth, Australia.